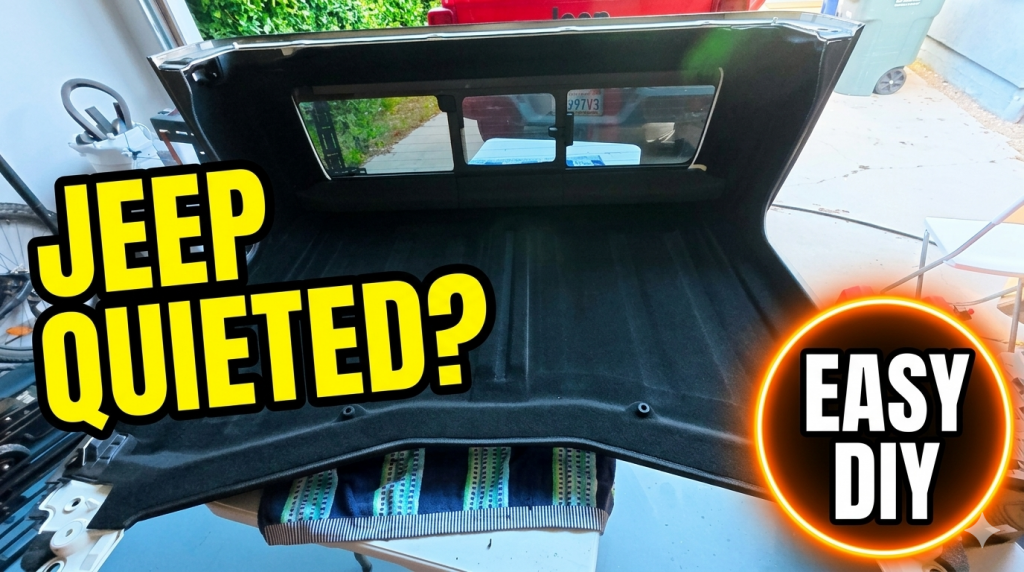
The gladiator is our road trip/camp/tow rig so it made sense to add a headliner for noise and heat. I’m personally not a huge fan of the kind that only sit in the middle of the hard top and leave a bunch of white composite showing. The coverking one covers completely and so it matched my visual needs.
After installing it I measured a 10-15f degree difference in the cab on an 80f day. I would say in generally it’s not sweltering when getting in on a SoCal sunny day like it was before. I can even put my hand on the inside of the top when it’s been sitting in the sun all day. It also doesn’t echo inside anymore!
If you prefer a video form I made one. But below is the same content but scrollable, clickable and stopable. The only thing the video has that the text below doesn’t is a way to hear the reduction in echo in the cab. But that’s in the first few seconds of the video if you care about that.
Installing the Coverking Top Liner in my Jeep Gladiator to help with sound dampening and temperature control. This one-day build covers the full process, from unboxing to the final fit, with a few DIY tips I learned along the way. If you’ve been looking for a chill, step-by-step look at how these headliners The only really difficult/hard part is figuring out where the provided glue/stick strips go. The included instructions were a youtube URL. Not a QR code to the video, a straight up URL to type in yourself. Once you figure out what goes where it’s easy enough to do yourself. I laid it all out on a piece of cardboard and figured out the numbering. I’ve attached a PDF that is the numberings + where they go based off the coverking youtube video.
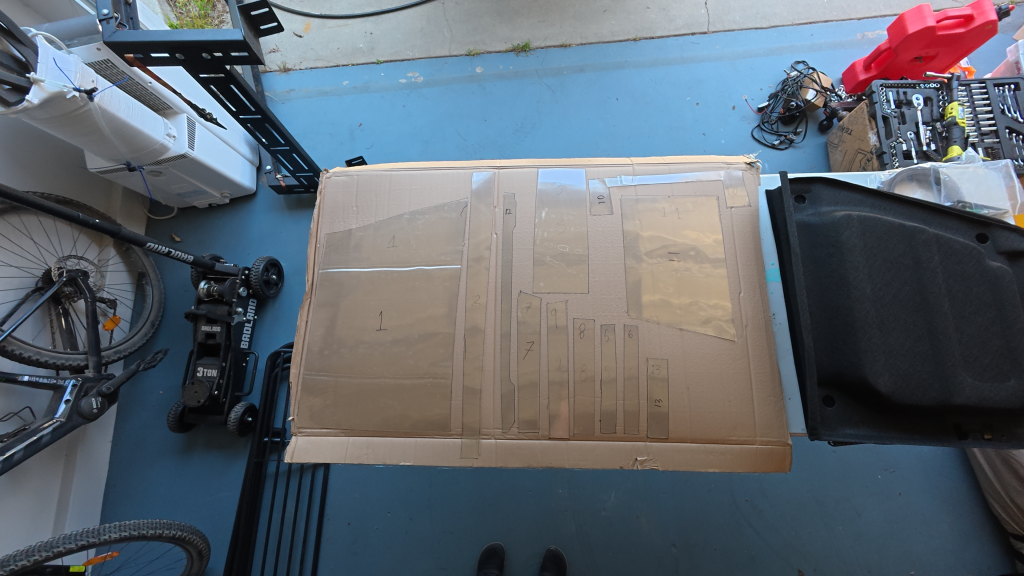
After that it’s just time to get started. I started with the freedom panels. It’s a good place to practice, it’s a lot more manageable.
First thing first is to pull the latches off. The coverking kit comes with the tools you need, but so does your Jeep most likely. The Jeep provided kit has a mini ratchet which is way nicer to use than essentially an IKEA allen key. Make sure to leave the windshield latch in place though!
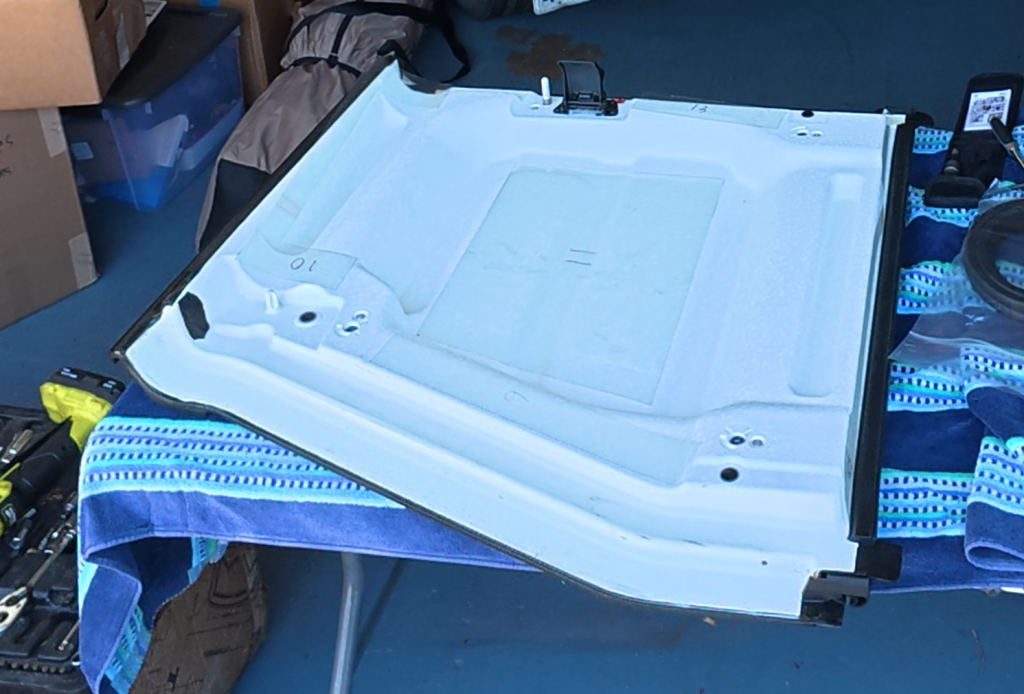
Once you pull those off you can get started on the install. Clean it really well with isopropyl alcohol and a rag. These hard tops are essentially “cast” composite so they have lingering mold release. It’s basically a type of wax that prevents epoxy/resin from sticking, but it also will prevent the glue strips from sticking well.
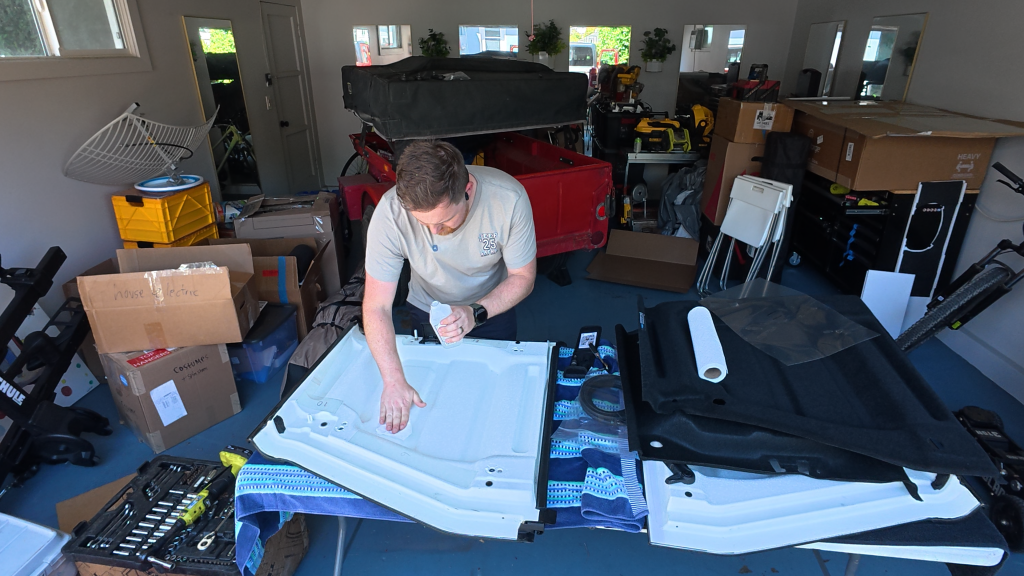
First let’s start with a tip! If you make a mark with a sharpie on each side of the glue strips plastic covering, the sharpie only really works on one side. The side the sharpie works on is the side it will peel off first! I found this out halfway through the project.
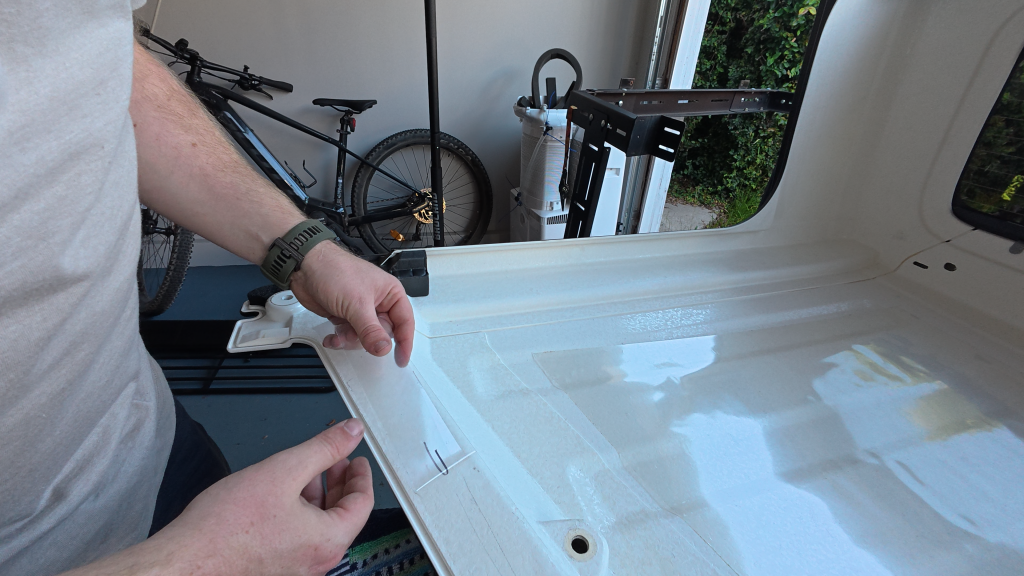
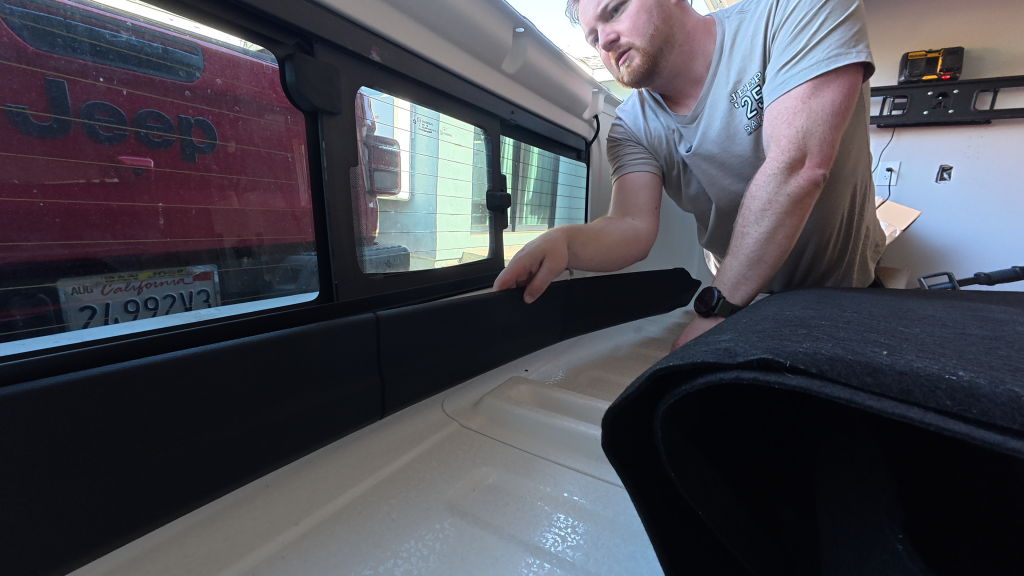
The easiest place to start is the middle. I suggest pulling a corner up and sticking it down. From there do the full raised section making sure to get it to stick. You can use a brayer if you think ahead or just use a sharpie like I did. then start to feed it into the valley and up to the next raised portion.
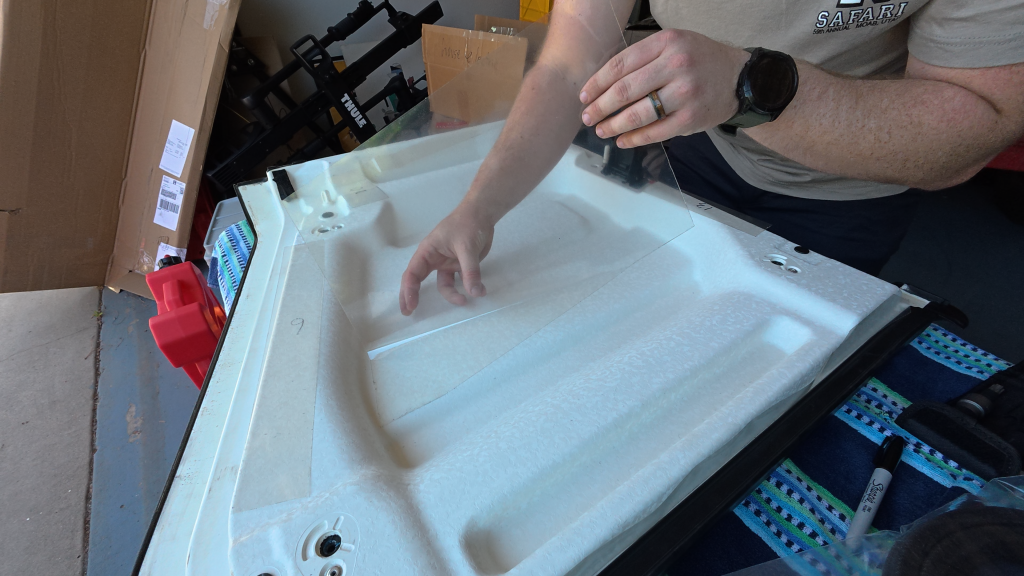
The trickiest part is the outer edge. You have to make sure to get the glue strips all the way up to the black paint for it to stick properly. On one side the glue strip tore while installing. It’s no big deal, the outer plastic is just to hold it together, the glue itself doesn’t really have any structure.
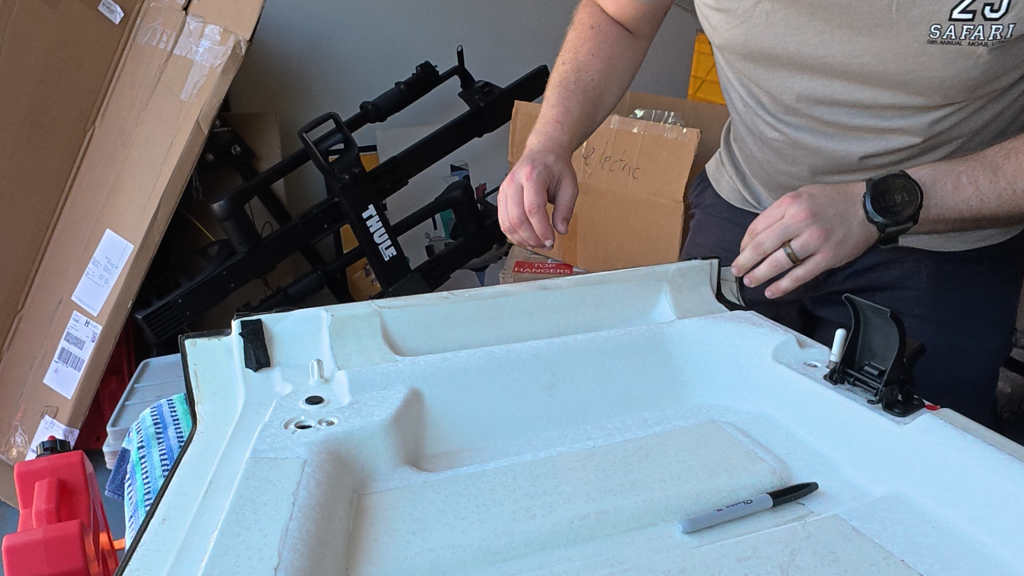
Once all the hard top side sticks are down, time for the headliner. Peel the backing off the center only to start with and make sure the carpet seats down super well. After that you can go one edge at a time.
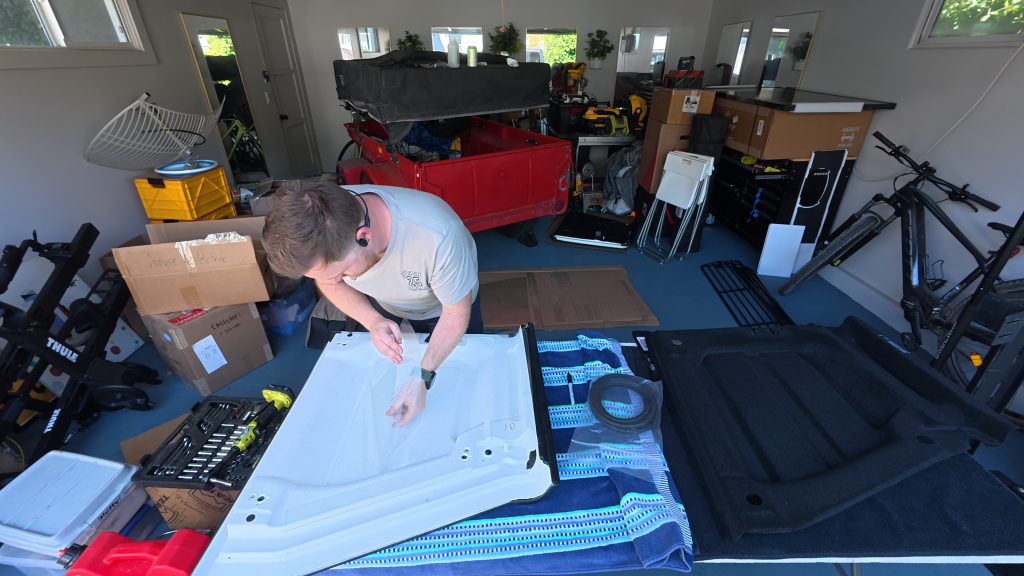
After both sides of the freedom panels are complete, pull the hard top off completely and lay it upside down. Just like the freedom top, make sure to clean it with isopropyl and a rag.
Don’t forget to pull off the rubber bumps and the back window plastic piece. The bumps just come off with a little force but the back plastic panel takes some effort. It feels like you’re breaking it. Just go slow and try to pry as close to the plastic clips as you can.
Again, start with the big middle stick panels and move out from there. I found no real difference between 5 and 6 to be honest. One may be slightly larger but nothing I could detect.
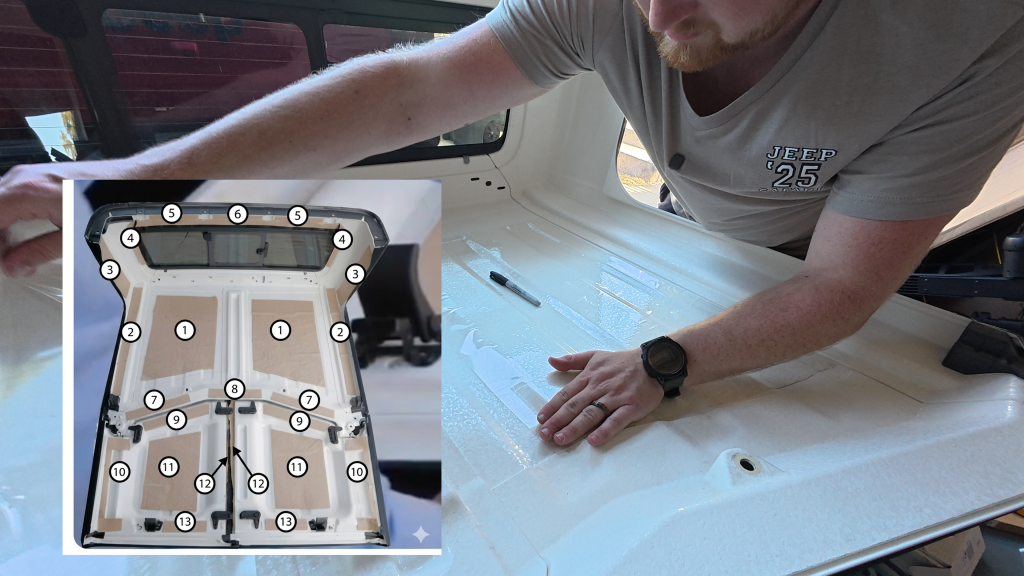
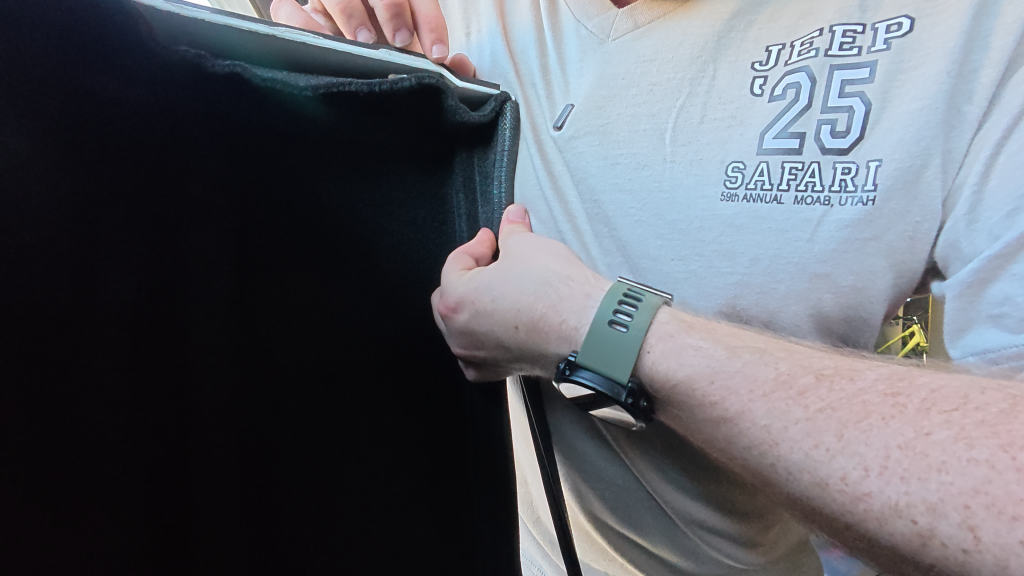
Move out as you go and everything will line up. I found that the foam front corner seals didn’t properly fit with the carpet so I had to cut it to fit. No big deal. Just go slow and you’ll get it done.
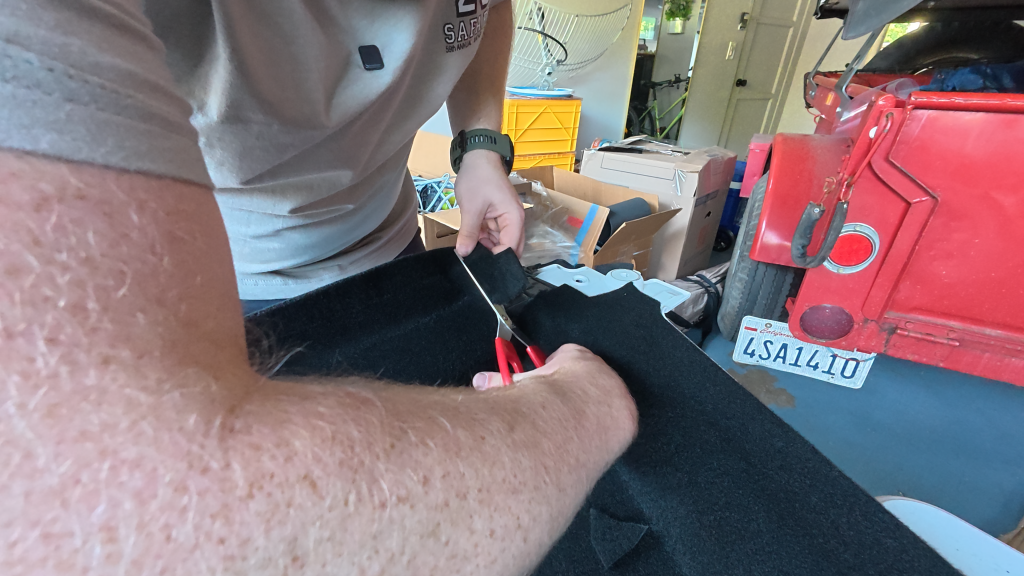
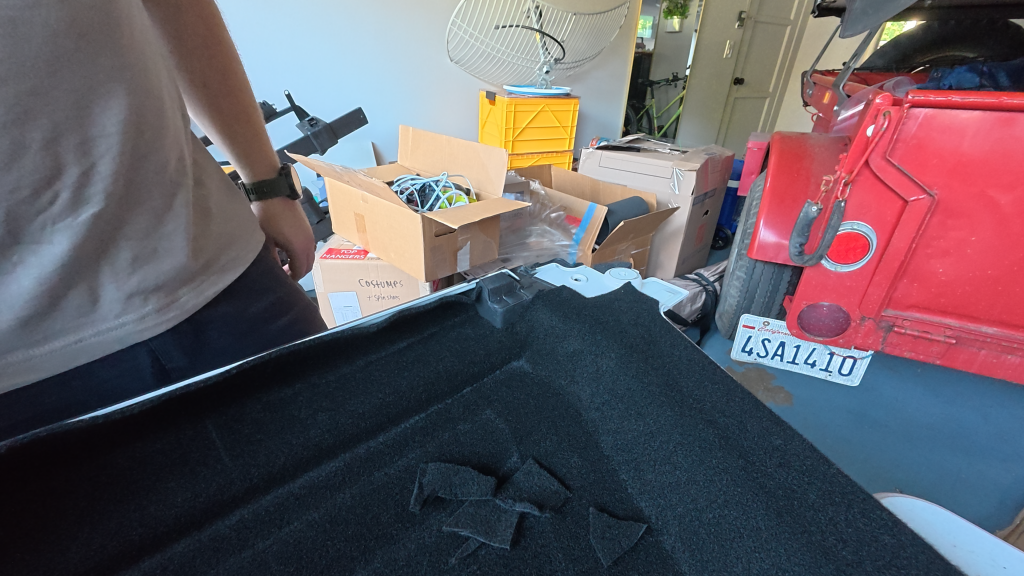
You can see below how much I had to cut out to make it fit right. But it does look good with the extra effort!
Once all the carpet is down, it’s time to start on the weather/edge stripping. The kit comes with a rubber edge to put on the door sills and the front edge. This just takes a lot of elbow grease. I found doing it in chunks of 3-4 inches and then going back and pushing where I started down all the way worked best. It does give it a nice finished look!
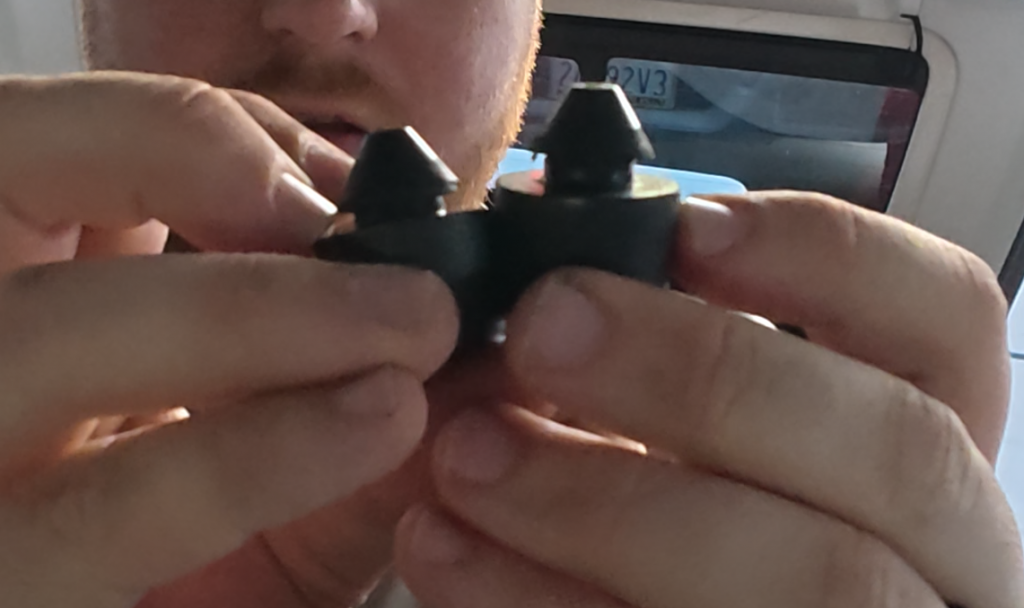
Now the tricky part. I noticed in their own video the rubber bumps that sit on the roll cage were not fully seated. They would not go in with the extra thickness of the carpet. If you notice in the photo below, the one on the left is untouched from the factory. The right is how I modified it. I cut off the extra little bit that’s flat that you can see on the left. That maybe 16th of an inch was all it took to get it seated right! Don’t worry, if you mess up crown and omix both have replacements. It’s factory part 68005011AB
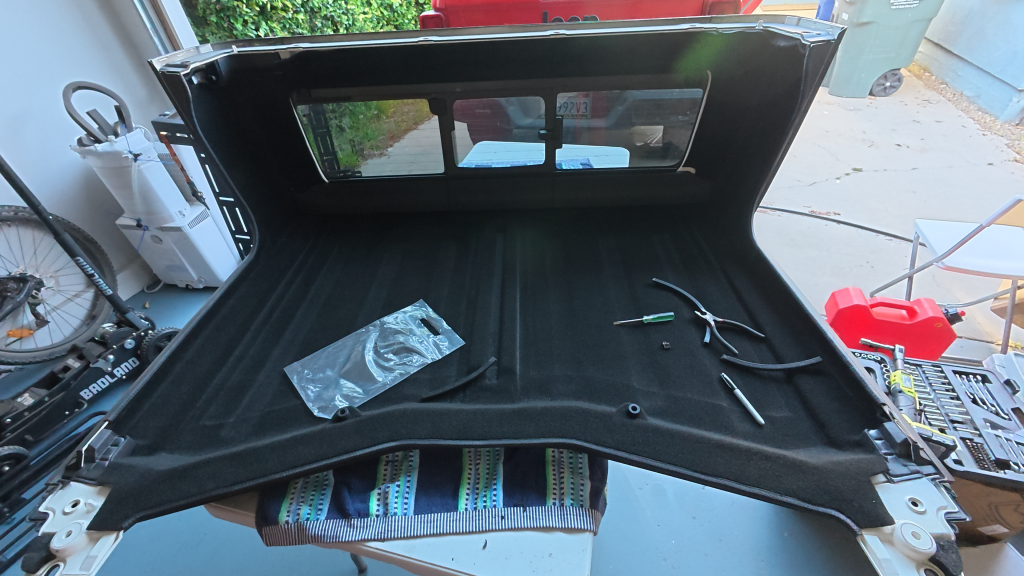
With that, just put the bumpers on and the big plastic panel in the back back on and you’re done! It really looks great!
0 Comments Leave a comment