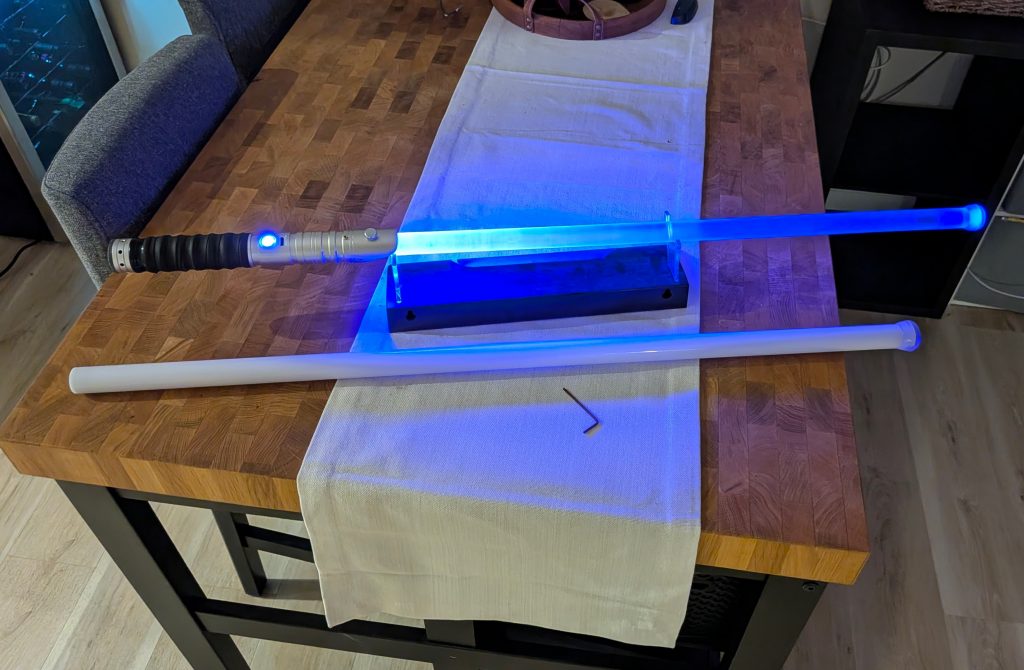
I could not come up with a good T handle cane end, that’s not really where my skillset is, but I was able to take a clear lucite cane(which I frosted with sandpaper) and add LEDs to it to light it up. I started with a saberspro duelist blade since it fit the price and requirements for this experiment. He absolutely loved it by the way.
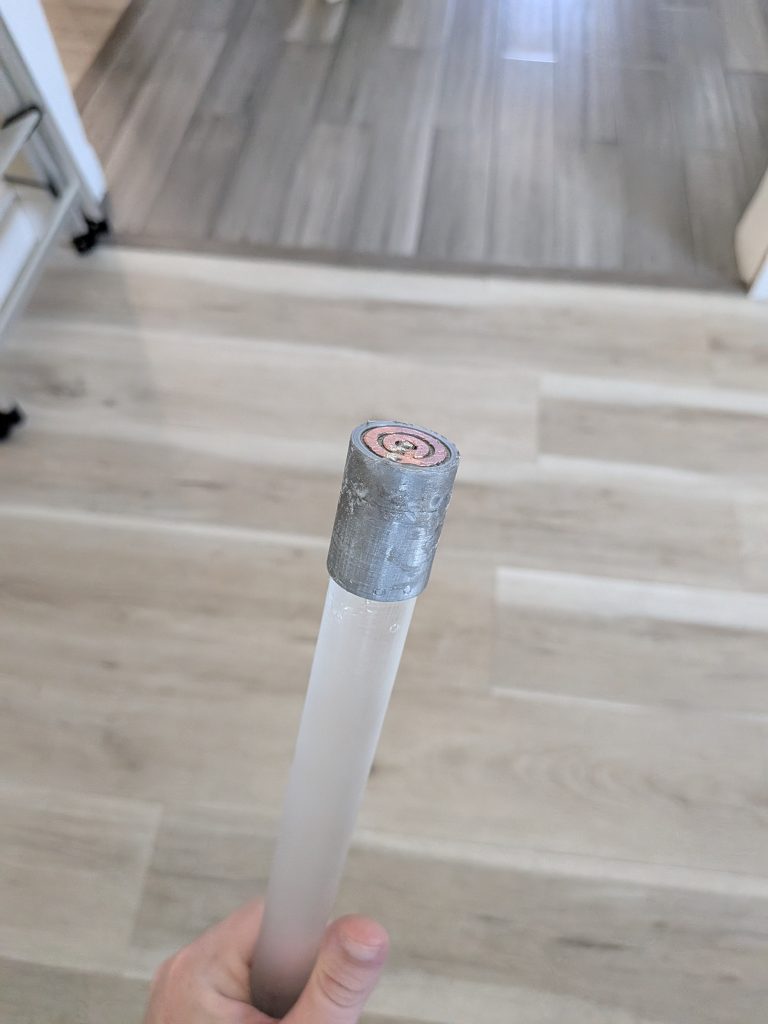
The real trick was making the neopixel LED cap for the cane end. On Instagram I had seen a video of someone using copper foil tape on a 3D print to make a PCB. So I did the same!
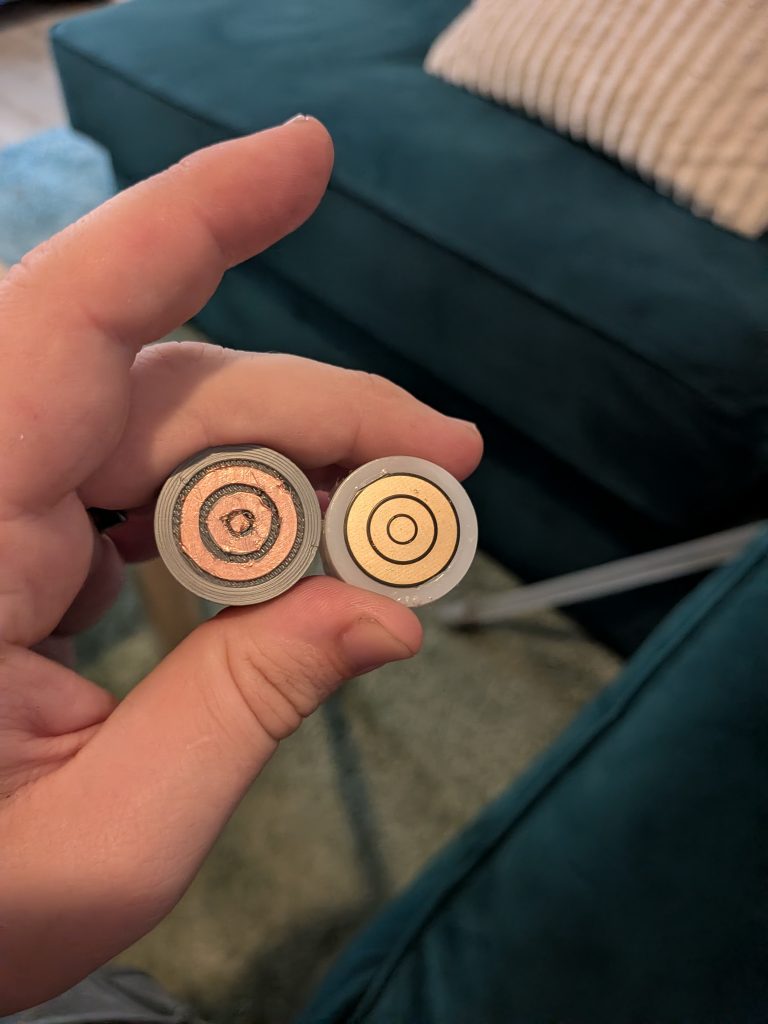
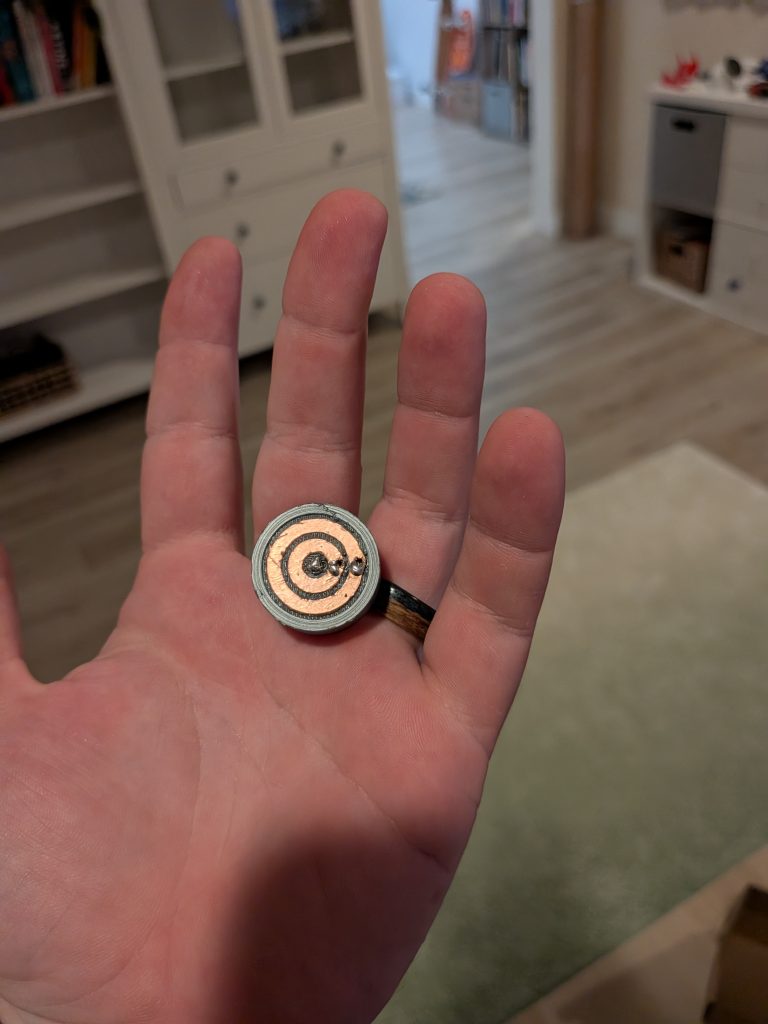
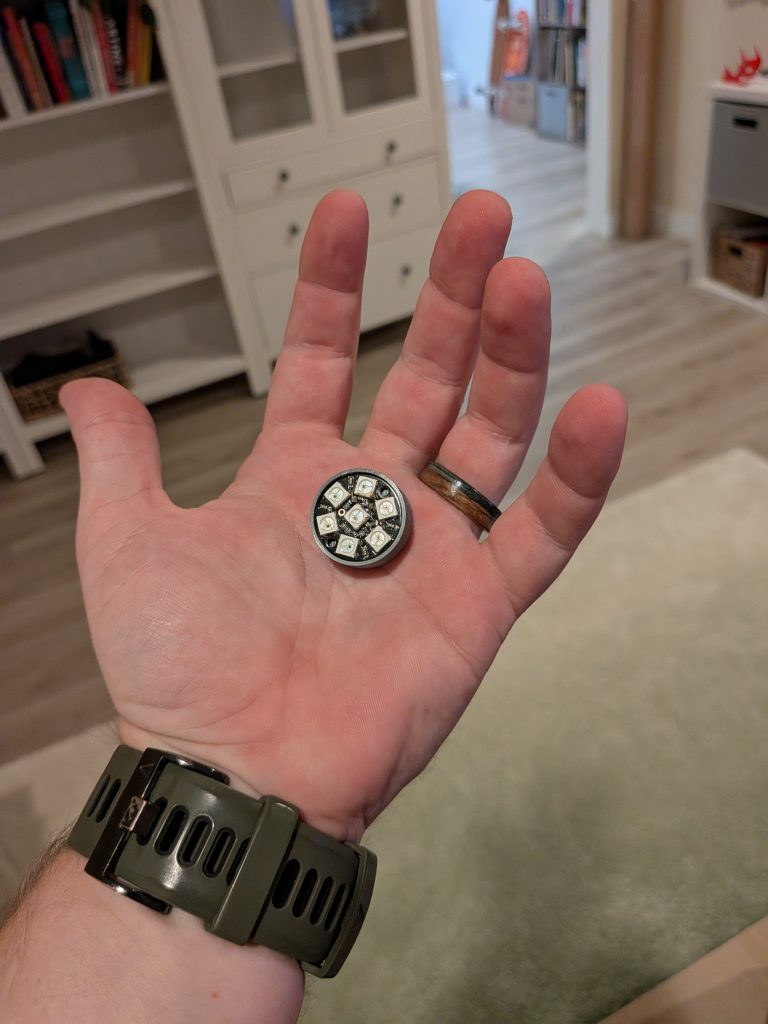
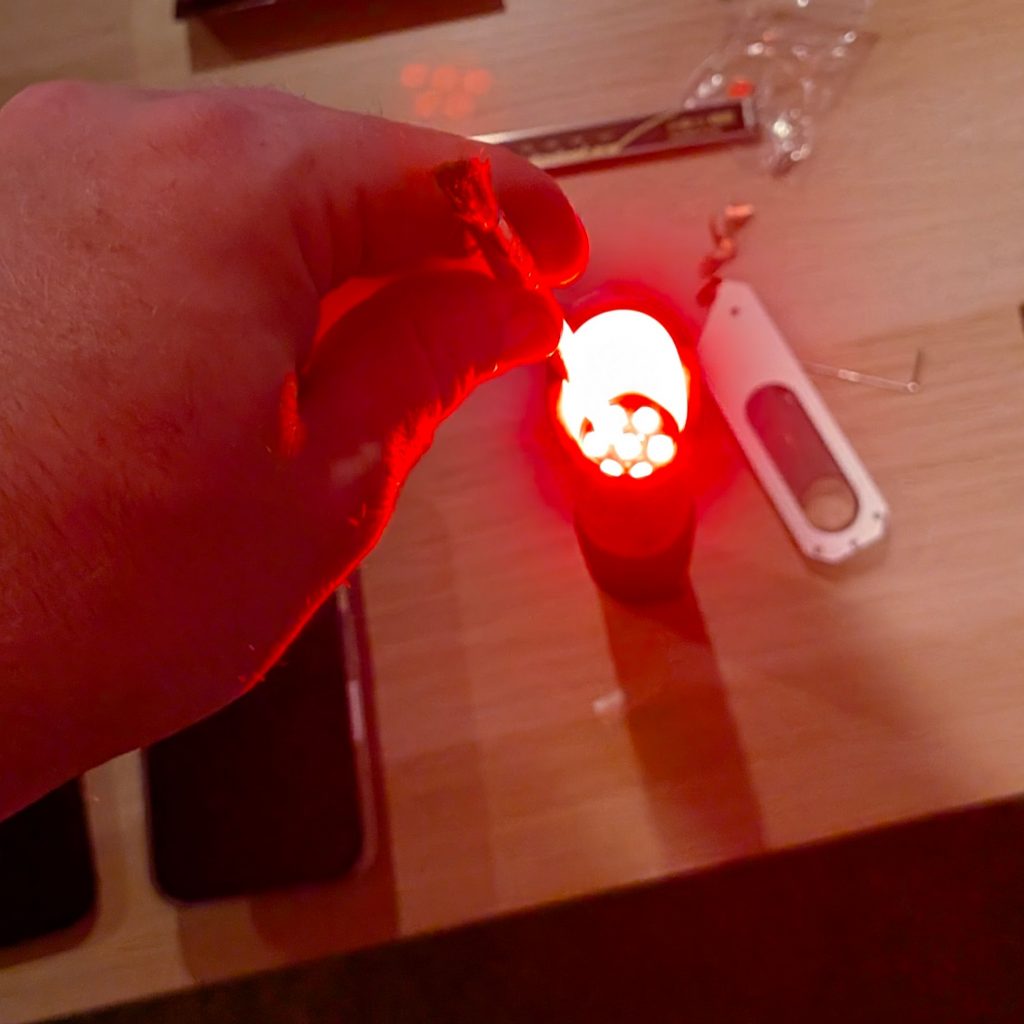
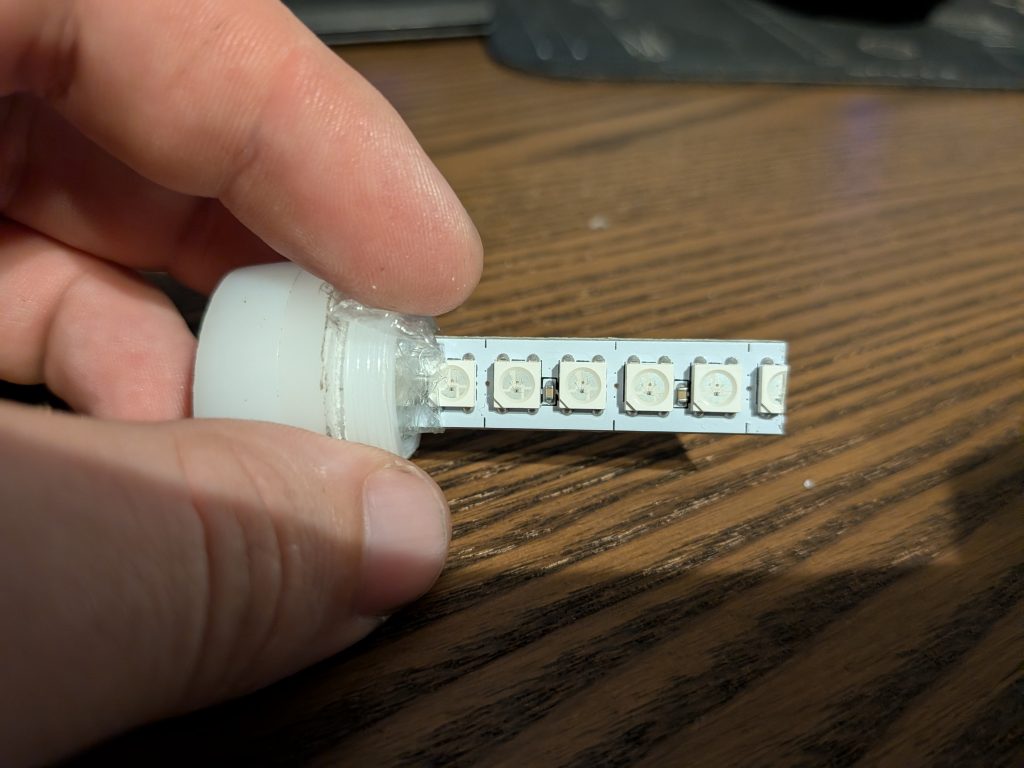
I used calipers and measured the xenopixel blade end and mimicked it and ran holes to the back side. Then I took an RGB neopixel jewel and connected it. For future reference if someone comes across this on Google, the center pin is data, the middle ring is ground and the outer ring is power. (Note, the final one is much nicer than the picture above)
The moment of truth was popping the whole thing into the hilt body and making sure it worked! It did and it even did the power on flash light the blade does!
Then I epoxied it to the cane end and it works great!
In the end I did ultimately cut down the original blade the kit came with so my dad can use it as a walking stick. He doesn’t put a lot of weight on his cane so much as he uses it to help with balance. (Note the old OG Darth maul force fx lightsaber stand!)
For cutting down the Xenoblade, once you cut the cap off it’s easy. I used one of the dueling type blades for strength. Inside the pixel PCB has tick marks where it’s safe to cut.
Cheers! Let me know if you have any questions or if I wasn’t super clear on something above.
Model files are here if you want to make your own neopixel cap: https://mkr.ms/elCYk3
You can probably use it to make a broken blade or a raw exposed crystal kind of thing!
0 Comments Leave a comment